Design a Simple Entryway Drop Zone: Materials and Methods Compared
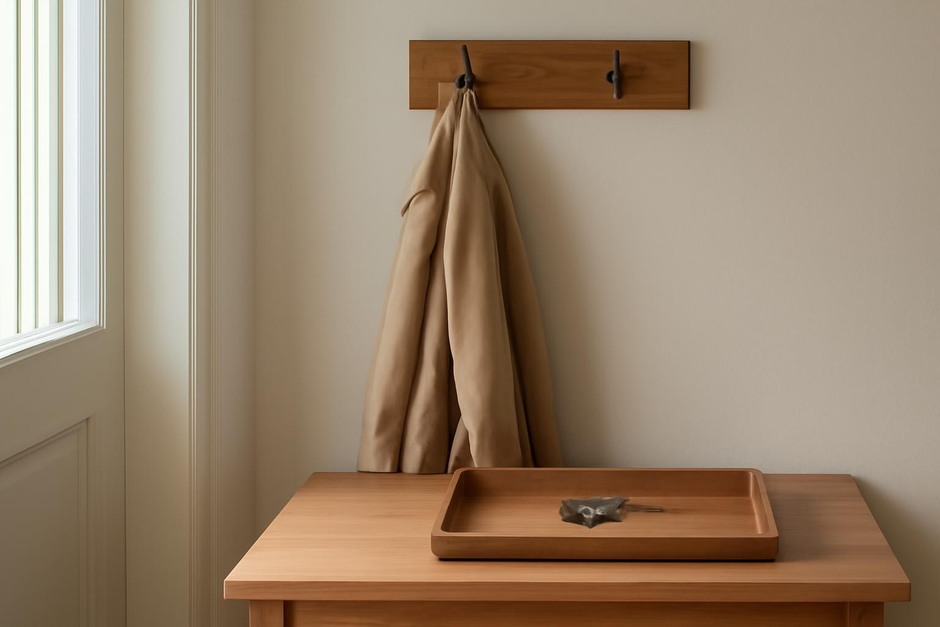
An entryway drop zone gives you a small, reliable station to land keys, bags, mail, and coats. The right approach depends on your space, habits, and whether you prefer a fixed system or something flexible. Below is a neutral comparison of three common methods, a clear step-by-step setup you can follow in one afternoon, and practical variations and troubleshooting tips.
Materials and Methods: Quick Comparison
Three methods tend to work well for most homes: a tray or basket on a surface, wall-mounted hooks or a peg rail, and a small console table with integrated storage. Each has strengths and trade-offs.
- Tray or basket on a surface — Materials: woven rattan, wood, metal, or molded plastic.
- Pros: Very flexible and portable; no installation; works on any flat surface.
- Cons: Can look cluttered if not emptied regularly; limited vertical storage for coats.
- Best when: you rent, have limited walls, or prefer a tidy, movable solution.
- Wall hooks or peg rail — Materials: metal, wood, ceramic knobs.
- Pros: Saves floor space; keeps items visible and ventilated; good for coats and bags.
- Cons: Requires installation; can stress drywall if overloaded; visual impact depends on placement and design.
- Best when: you have a small footprint, need hands-free storage, or want an intentional display.
- Small console table with storage — Materials: plywood, solid wood, metal frame with shelf, or repurposed furniture.
- Pros: Provides surface, hidden storage (drawer or basket) and visual definition of the entry area.
- Cons: Requires floor space; higher cost and assembly; may feel bulky in tight entries.
- Best when: you want a dedicated piece that organizes multiple item types and anchors the space.
Step-by-Step: Build a Simple Drop Zone
This method combines a small surface and a hook—balanced and renter-friendly.
- Select the location. Choose a flat surface near the main door: a narrow console, a shelf by the door, or the top of a small cabinet. Aim for a spot within arm’s reach as you enter.
- Pick your core elements. You need a small tray or shallow basket (about 10–14 inches wide), one or two wall hooks at shoulder height, and a tray-sized catchall for smaller items like keys and coins.
- Measure and test placement. Hold the tray and a bag where they would sit. If using hooks, mark hook locations 5–8 inches apart at 60–66 inches from the floor for average adult reach. If multiple users vary in height, stagger hooks or add lower ones for children.
- Install hooks (if using). For renters, use removable adhesive hooks rated for the expected weight, or surface-mount hooks on a thin board that sits against the wall without anchors. For a permanent fix, use screws into studs or use appropriate wall anchors for drywall.
- Arrange the surface items. Place the tray near the door so keys and small items land there. Reserve a spot for daily mail or a small notebook for notes. Keep frequently used items visible; hide seasonal or infrequent items in a nearby basket under the console.
- Set a simple routine. Empty the tray every evening or morning into its permanent home (wallet, mail sorter, coat closet). Short, consistent habits keep the drop zone tidy.
Choosing materials
- Woven baskets offer a warm, textured look and are lightweight, but can wear with heavy use.
- Metal trays are durable and easy to clean, though they may scratch or dent.
- Wood brings warmth and age well; sealed wood is easier to keep clean.
- Adhesive hooks are renter-friendly but check weight ratings and remove gently to avoid damage.
Variations
- Small entry or vestibule: Use wall hooks and a narrow shelf to stay open and airy. Avoid bulky furniture.
- Family with kids: Add lower hooks and a basket for shoes or schoolbags; color-code trays to keep personal items separate.
- Renter-friendly: Stick to freestanding pieces and adhesive hooks; consider a decorative ladder or leaning shelf that doesn’t require screws.
- Minimalist: Use a single, shallow wooden tray and one hook; keep only daily essentials visible.
Troubleshooting and Upkeep
- Problem: The tray becomes a dumping ground. Solution: Reduce surface options—fewer places to dump means fewer items. Establish a 2-minute evening tidy routine.
- Problem: Hooks keep pulling out of the wall. Solution: Use proper anchors or relocate to a stud. For heavy items, switch to a freestanding coat rack or a narrow hall tree.
- Problem: The zone looks cluttered. Solution: Limit visible items to three categories (keys, phone, coat). Use matching containers to unify the visual look.
- Problem: Not enough space for shoes or bulky bags. Solution: Add a shallow under-table basket or a slim shoe tray; consider vertical storage like narrow lockers or a pegboard that organizes items upward.
This simple setup—choose the materials that match your lifestyle and follow the step-by-step plan—gives you a reliable place to land everyday items without over-designing. Small choices, consistently applied, make an ordinary corner work a little better every day.